Python Flask Real time Chat using Socket.IO
Published on October 06, 2020
For the curiosity of real time connections
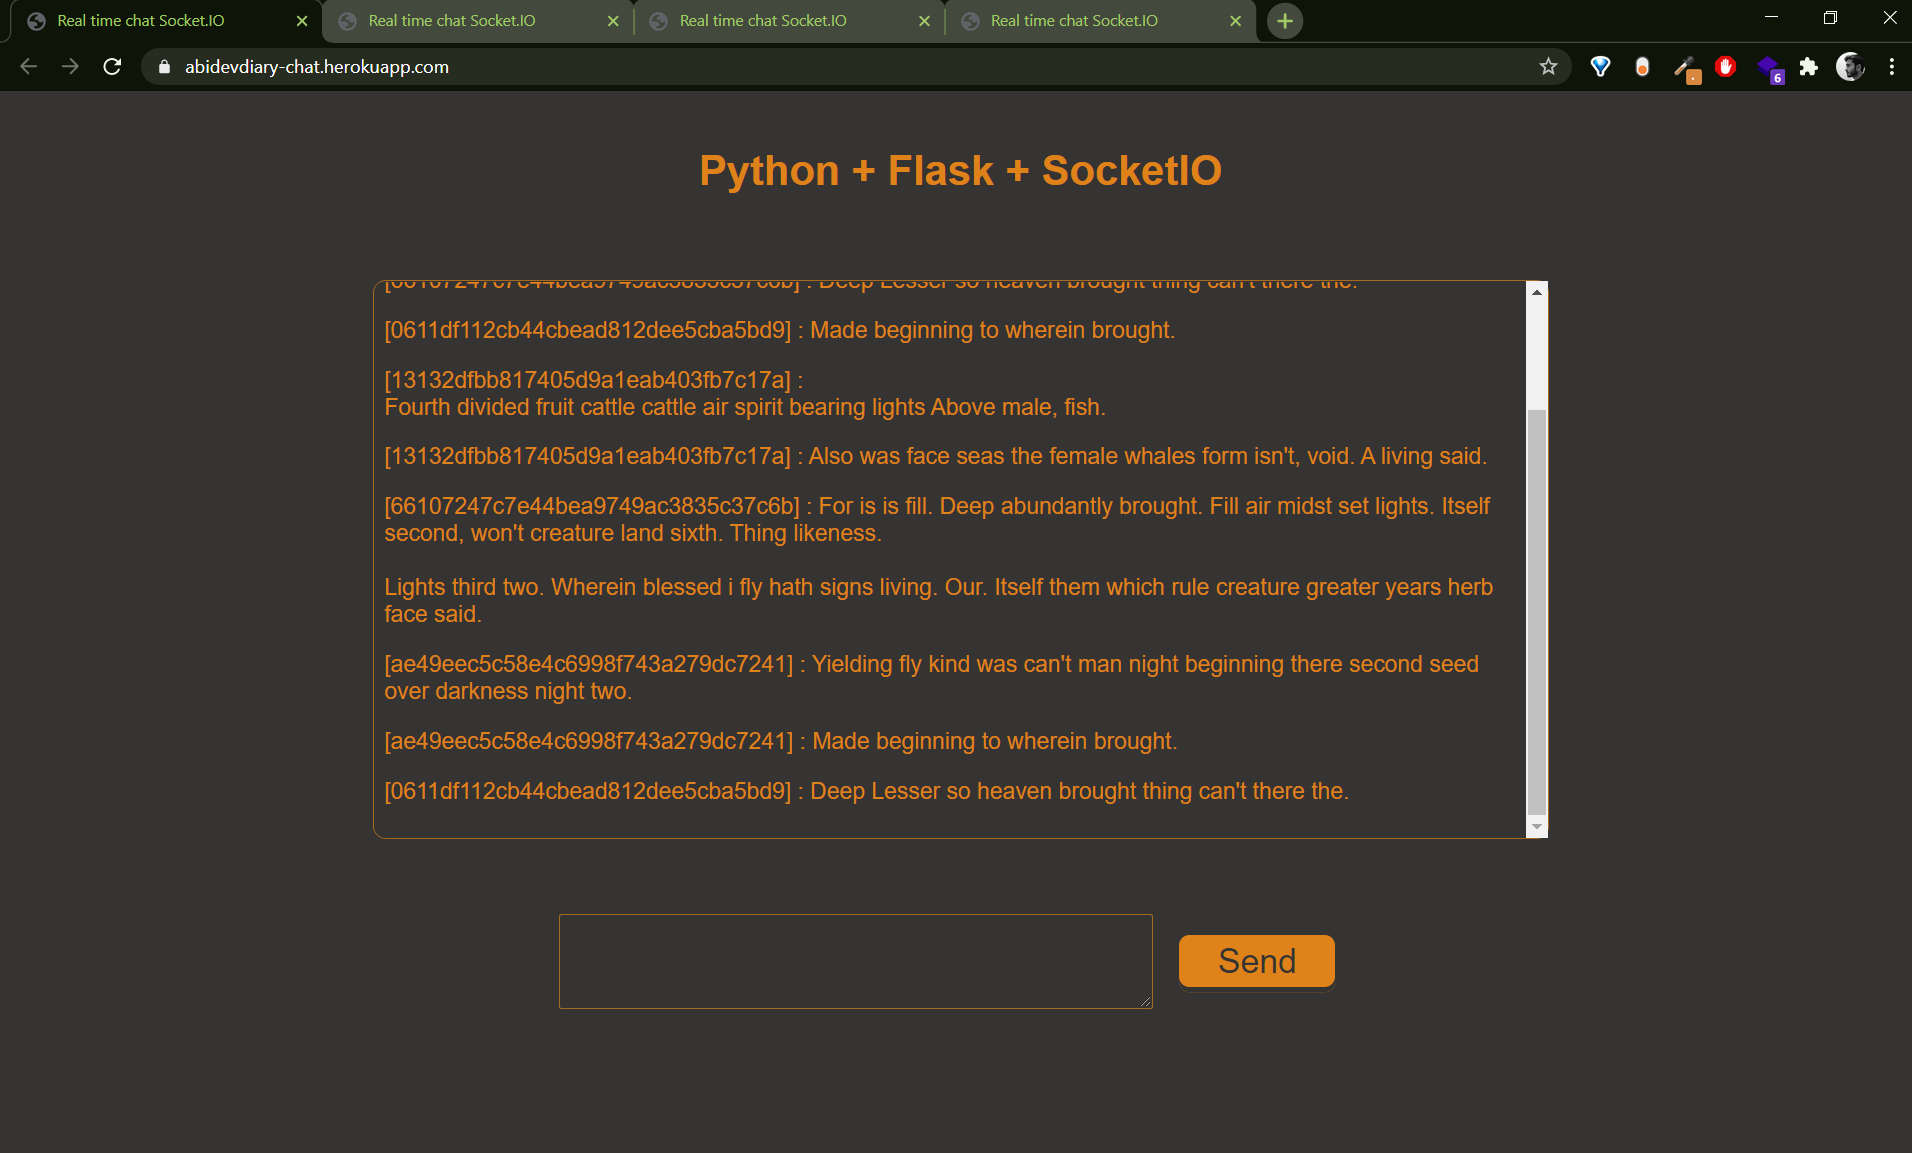
This is a small introduction on socket.io and its integration with a Python Flask backend to the end of this readings I'll deploy this on Heroku as well. This will have a minimal UI using Flask's template engine, overall the libraries used here are:
Creating the project with pipenv and installing dependencies
Pipenv is a way you can package python projects, will be using it for this project. To start of we'll install pipenv and initialize your folder with the python version.
You could probably skip using pipenv if you're not comfortable. Simply pip install the libraries required and they'll be stored globally.
pip install pipenv
pipenv --python C:\Python38-32\python.exe  #your path to python
pipenv shell
pipenv install flask
pipenv install flask-socketio
Setting up Flask's API and Templates
Once the project is setup now we'll add few flask API methods and html templates for a chat room page. Within the root folder first create a file 'app.py' and add folders 'templates', 'static' where all our html files and static files will go respectively, the structure should look something like this.
static/
  script.js
templates/
  index.html
  404.html
app.py
In the app.py copy the code below which is a boilerplate for python flask API, if you are struggling understanding it, try watching a tutorial on Flask or read its documentation
from flask import Flask, request, render_template
app = Flask(__name__)

@app.route('/hello', methods=['GET'])
def hello():
    return 'Hello World'

@app.route('/')
def index():
    return render_template('index.html')

@app.errorhandler(404)
def page_not_found(error):
    return render_template('404.html'), 404

if __name__ == "__main__":
    app.run(debug=True)
Our index.html file will call JS files and there is a weird way you add static files in your html. Just like below code you can also include css file using the url_for(). Here is the complete html we'll be using, I've also added a minified css below it that you can use.
<!DOCTYPE html>
<html lang="en">

<head>
  <meta charset="UTF-8">
  <meta name="viewport" content="width=device-width, initial-scale=1.0">
  <title>Real time chat Socket.IO</title>
  <link rel="stylesheet" href="{{ url_for('static', filename='style.css')}}">
</head>

<body>
  <div class="parent">
    <h1>Python + Flask + SocketIO</h1>
    <div class="chatbox" id="chat-box">
    </div>
    <div class="inputs">
      <textarea class="input-area" type="textarea" name="" id="inputarea" cols="70" rows="3"></textarea>
      <button class="send-btn" id="sendbtn">Send</button>
    </div>
  </div>
</body>
<script src="//cdnjs.cloudflare.com/ajax/libs/socket.io/2.2.0/socket.io.js"
  integrity="sha256-yr4fRk/GU1ehYJPAs8P4JlTgu0Hdsp4ZKrx8bDEDC3I=" crossorigin="anonymous"></script>
<script type="text/javascript" src="{{ url_for('static', filename='script.js')}}"></script>

</html>body{margin:0;color:#de8219;background:#353432;font-family:"Haas Grot Text R Web","Helvetica Neue",Helvetica,Arial,sans-serif}.parent{display:grid;place-items:center;width:100vw;min-height:90vh;margin:0;padding:0}.chatbox{padding:.5rem;border-radius:10px;border:1px solid #de8219ad;background:#353432;font-size:1.1rem;height:50vh;width:60vw;overflow:auto}.inputs{display:flex;flex-direction:row;justify-content:space-around;align-items:center;margin:10px auto}.input-area{max-width:450px;max-height:200px;border-radius:2px;border:1px solid #de8219ad;background:#353432;color:#de8219;font-size:1.5rem}button{cursor:pointer;width:120px;height:40px;font-size:26px;font-family:'Alegreya Sans SC',sans-serif;display:block;margin:20px;transition:all .3s}button:hover{transition:all .2s}button:focus{outline:0}button:active{transition:none;padding:0}.send-btn{color:#353432;background-color:#de8219;border:none;border-radius:8px;box-shadow:0 4px 0 #353432,0 4px 0 #de8219,0 4px 6px #353432}.send-btn:hover{box-shadow:0 1px 2px #353432;transform:translateY(4px)}.send-btn:active{background-color:#c67921}Adding Flask SocketIO methods
Note that web server using SocketIO is started by calling socketio.run(app) prior to Flask's app.run(). By default it takes eventlet (there are different options like gevent also) which is an asynchronous service for long polling web socket connections. Add flask_socketio imports and Initialize it, socketio methods are basically server side event handlers whereas Javascript clients use callbacks. You can give custom names to these events within the @socketio.on('name') decorator, whereas you can pass in different kind of arguments just like any function.
To send a response back to the client there are two ways send() and emit(). Within these methods there are a lot of configurations like rooms, namespaces and broadcast. We'll be using broadcast for now, After completing this code I'll show you how I connect to a socket and send and receive messages.
from flask_socketio import SocketIO

socketio = SocketIO(app)

@socketio.on('connect')
def connect():
    print('Client connected: ' + request.sid)

@socketio.on('disconnect')
def disconnect():
    print('Client disconnect: ' + request.sid)

@socketio.on('message broadcast')
def handle_message(d):   #Passing in an argument as json
    message = d['data']
    print('received message: ' + message)
    emit('message receive', message, broadcast=True)


if __name__ == "__main__":
    # app.run(debug=True)
    socketio.run(app, debug=True)
Socket.IO 🤝 JS
Using socketio on client side is very easy, Call a constructor and create callbacks for all the events you want to listen.
var socket = io();
const chatDiv = document.getElementById("chat-box");
const sendButton = document.getElementById("sendbtn");
const messageTextBox = document.getElementById("inputarea");

socket.on("connect", function () {
  socket.on("message receive", (data) => {
    console.log(data);
    receiveMessage(data);
  });

  socket.on("disconnect", () => {
    console.log("disconnected");
  });
});

function sendMessage() {
  var msg = messageTextBox.value;

  if (msg.length > 0) {
    console.log("messageButton clicked =>", msg);
    socket.emit("message broadcast", { message: msg });
    messageTextBox.value = "";
  } else {
    console.log("messageButton clicked", " *but message is empty*");
  }
}

function receiveMessage(data) {
  msgP = document.createElement("p");
  msgP.innerText = `[${data.client}] : ${data.message}`;
  chatDiv.appendChild(msgP, chatDiv.childNodes[0]);
  chatDiv.scrollTop = chatDiv.scrollHeight;
}

sendButton.addEventListener("click", function () {
  sendMessage();
});
Deploying on Heroku
There are multiple options for deploying python apps, I've used Heroku only so will show you how this is done (keep in mind this could change in future). First and foremost create or login to your heroku (link) and create an app with your name and region.
Goto Deploy and look at the instructions, I'm going to use Heroku Git, but you can follow other approaches (Github is also very easy). Download Heroku's Client from here. After download and install login to your heroku by writing heroku login on your terminal.
Now clean your git repo and add some finishing touches
- Replace your run method in app.py by
socketio.run(app, host='0.0.0.0', debug=True, port=5100) -
Install flask_cors and add Cross origin support in app.py
pipenv install flask_corsfrom flask_cors import CORS # Add this importCORS(app) #just below Flask()
-
Adding eventlet to app.py
pipenv install eventletimport eventleteventlet.monkey_patch(socket=True, select=True) #Add this after SocketIO()
- Create requirements.txt by
pipenv lock -r > requirements.txt. - Add a procfile with following command
web: gunicorn --worker-class eventlet -w 1 app:app - Initialize Git repo by
git initin your project directory (and add a gitignore if you want to) - Add a git remote
heroku git:remote -a your-app-name - Add all files and commit them.
https://abidevdiary-chat.herokuapp.com/

You can find this project on github : https://github.com/aliabidzaidi/ajeeb-chat-room
If you like it, share it!
